Showing posts with label home. Show all posts

Thursday, 25 June 2015

Arm knitted chunky blanket

So I've mentioned my master bedroom makeover a few times. We are finally back in the bedroom but it's still not quite finished! Yes we have all the furniture, new floor and blinds, but all the little details have yet to be put in place or purchased! At the moment the walls look a little bare but we shall get there eventually!

One of the things I had made in readiness for the makeover was an arm knitted blanket. I made infinity scarves at Christmas so decided to go for a bigger project! I can't knit and I am slowly learning to crochet so this gives me instant and satisfying results!

I couldn't get on with watching a video of how to knit but found a step by step photo tutorial which was perfect.  I've already shared the tutorial from Flax and Twine but here it is again!

I couldn't get the super chunky wool that she uses in her tutorial so decided to devise my own version of chunky!


I made one long runner style blanket first off using this wool.


This wool is classed as chunky but it's not chunky enough for the look I was going for.


It looks pretty chunky close up.


But when it was laid out, it just didn't have the chunky look.

I decided to make another blanket exactly the same dimensions.


Well that was the plan!! I didn't eyeball it correctly and ended up with a smaller piece! I needed to make an additional one so quickly whipped up a smaller piece. I then laid all the pieces on top of one another and started to attach together using the method described in the tutorial. I did this round all 4 sides.


This meant that I ended up with a super chunky runner for my bed! I used 8 balls of wall to complete my small blanket.

Now it looks pretty chunky. It does not have a super neat finish but I'm OK with that!


I love how it looks in the bedroom and how well it goes with all my new stuff!

Have you made an arm knitted item? Do you like the look? Share on Facebook.

Have a great weekend!


Tuesday, 23 June 2015

No sew Burlap Table Runner

How did your Father's Day go? I was sadly working but as I work at a gliding club, I was able to treat my husband to a flight in one of the club's gliders. He liked it so much he went up again later that afternoon. I got to spend lots of time with him and my son who became our youngest receptionist that afternoon! My manager kindly took my boy for a trip round the airfield which he was super excited about. It's lovely working in such a nice sociable relaxed environment. We treated my husband to a meal out in the evening rounding off a lovely fun day for him.

When we aren't out to eat (which isn't very often I have to say), I love to cook. Since I began meal planning, I've found how much easier it is to just make something from scratch that we can all enjoy and love to eat. Sure I pick quick and easy meals (I fully utilise my slow cooker!) for weekdays but knowing it's all homemade is very satisfying.

We have not changed our kitchen since we moved into the house over 7 years ago. It was put in the year we moved so we decided to live with it, even though the layout is bonkers (lots of wasted space) and the style is not to our taste. We were pretty appalled by the state of the ceiling and the walls however, so a couple of years ago I painted it a lovely warm yellow and bought and made some wall art to make the place feel more like ours. I got some new appliances and cake stands which has transformed the kitchen into a place I like to be. 


We have this gorgeous tile top dining table which went beautifully with the changes, but it still felt like something was missing. I started looking for ideas on Pinterest and saw lots of crafts with burlap. I really liked the idea of a table runner and decided burlap was the way to go! I like old fashioned, vintage style items over modern and burlap fits the criteria, not to mention blending in well with my kitchen!

I remembered seeing some small rolls of burlap in Hobbycraft, so went off to investigate. I bought a large 2m roll in cream (you can purchase online here) rather than the darker more usual shade of burlap. I also bought some cream fabric paint and a reel of lace trim (purchase here).


I already had other fabric paint colours, so gathered them together so that I could decide what would look best with the cream.

Firstly I unrolled the burlap and laid it out on the table.


The 2m roll was the perfect size for my table with a little overhang at each end. As you can see it is frayed as you would expect. I have very little sewing skills and decided that I would glue the lace trim to the edges of the burlap.


I trimmed the frayed part down but left a little for the lace to adhere to. I found some large pieces of card and placed them under the burlap to protect the table. By completing the project on the actual table it was for helped with the design and scale.


I measured out some of the ribbon for the ends and cut with just a little overhang. The reel I used was 5m which was the exact amount I needed to do all four edges.


I next drew a thin layer of fabric glue and gently placed the ribbon down from one end to the next, pressing down as I went along.


I followed this same method on the sides. I glued both ends first and then the sides so that the ribbon from the sides would be stuck over the top of the ends. When the glue was dry, I trimmed away the last pieces of the frayed edges that were showing next to the ribbon edge. For the detail on the runner I used a home made stencil. You could easily buy one.

I found a leaf border over on The Graphics Fairy which reminded me of the painted olives on my dining table. They seemed Italian in design! I then used PicMonkey to design a monogram with the border and printed it out on A4 card.


I chose a fairly simple border that would be easy to cut out. The font was kept simple for the same reason. I used a craft knife and carefully cut out each segment of the border and letter. This was surprisingly easy and took me about half an hour to complete.


I laid the runner out flat so I knew how much overhang there would be on each side. I then laid the cut stencil out on one end of the runner near the edge of the table. The cream fabric paint I purchased was too close to the colour of the runner so I decided to use yellow and blue to match the kitchen and the table. I took a small sponge to dab the paint onto the stencil.


I used a bit of tape to hold the stencil in place and used the fabric paint very sparingly so as to not bleed or smudge the design. When I took the stencil off I took a very thin paintbrush to fill in any gaps or pale areas of the design. I also decided that the F looked a little washed out on the burlap, so outlined that in blue to match.


Before edging.


After!

Some of the paint I used was actually acrylic craft paint rather than fabric paint. I have read that to set this in place you should iron it. I have to say I have yet to do this, but I am only planning to sponge clean the runner rather than wash it to stop it fraying any further.

I am so pleased with how this turned out. It has given my table a new lease of life!

I decided to keep the design uniform and re used the stencil on the other end of the runner. The stencil could probably have been used a couple more times if I had wished. I would certainly use that method again for customised designs.

When the sun shines the whole kitchen feels warm and cosy!

Do you like burlap? Have you used it in any crafts? Do you like a more vintage look or are you modern all the way? Share your experiences on my Facebook page. 

Have a great day!


Monday, 16 March 2015

Using Spray Paint to update pieces for the Home

Hello and how was your Mother's Day? It was extremely cold here Sunday, grey and rainy, so the best thing to do was eat!

After showering me with lovely cards and gifts I was taken out for brunch, then a little mooch around some shops where fudge was purchased to bring home. After a coffee, fudge and a movie, I was treated to a lovely champagne afternoon tea at a beautiful local hotel.  The drinks were late in arriving to our table, so they took those off the bill as well as giving us our son's afternoon tea for free! Happy Mother's Day to me indeed!

Now that's all past, it's back to crafting. Of course with Easter coming up my attention has been on that, but I wanted to share with you my recent experience of spray painting a very awkward shaped bottle holder!

When I decluttered the house back in January, I came across this wine bottle holder that we were given as a present years ago. It used to sit in our old dining room on a sideboard along with a free standing wine rack and other bits and bobs. When we moved, we didn't have anywhere for it to go, except in a cupboard, and that's where it's been ever since!


It was just plain black, nothing fancy. I still liked it but I have next to nothing black in the house, except for my hubby's office and TV stand! I decided the best thing to do was to spray paint it to match the kitchen where it could have a home.

I cleaned it off and placed it in a box so that I could spray it outdoors without too much paint going everywhere! I chose an off white as I have canisters in a similar colour. I lightly sprayed the first side and left it to dry. I did the other side and realised that it was going to take many many resprays to get it an even colour all over! This took a few weeks (mainly due to bad weather) and I really did wonder if the thing would ever look cream rather than black!  I wouldn't advise choosing such an awkward shape as your first spray paint project!

It has, however, turned out pretty well and now compliments the rest of the canisters I have in the kitchen.


It's not perfect, I can still see the odd bit of black poking through, but it's not put me off using spray paint. There is no way I could have painted this by hand and have it look any good at all.


Have you used spray paint to change something up in your home? For more on my spray painting exploits check out my post Baking tray makeover. I used the same style of paint and technique as I did for my lap tray.

My posts will be a little short and sweet this week. I am busy decorating cakes for my lovely friend's birthday as well as heading out to a concert Wednesday!


Tuesday, 3 March 2015

Bringing a little bit of Spring to the house!


I am so excited for Spring! I try not to live in my boots in the Winter but alas I practically did it again this year. So when some lovely Spring sunshine graced 1st March, out came my super cute leopard print kitten heels! It felt good to be wearing shoes! Sadly even though we have had beautiful sunshine it has been very cold, so the boots have made a reappearance! I am hopeful for the weekend though!

With beautiful sunshine comes thoughts of Spring, Easter, birthdays and warmer days. My living room is pretty choc full of pretty ornaments, candle holders and books but my kitchen/diner is lacking in a bit of decorative treatment.

I bought a Sissix Big Shot die cutter a few years ago and have never got around to using it! Terrible I know! I also have one solitary die for it too! I decided to dust it down and give it a good workout by cutting many many flower shapes from it.

I gathered plenty of pastel patterned and plain paper and card that I could find.


As you can see I have a fair selection! My kitchen is painted yellow with cream and blue appliances and trinkets so I wanted any paper I used to complement it. I cut out at least one set of flowers from each piece of paper.


I also gathered up some Spring coloured sequins and resin flowers that I had to hand. I took various flower shapes and put them together with different patterns to create unique looking designs. I used glue dots and pads to stick them together and finished them off with an embellishment in the middle.


I then got a length of thin jute string and stuck each flower to it with a space in between. I again used the glue pads for quick and easy fixing!


Here they are hanging up in the kitchen. It's pretty and seasonal and will keep the kitchen looking fun and ready for Easter!

I gathered some pieces I had to hand to create a Spring mantle along with some new pieces I just had to buy!


I bought this cute little chap when my husband and I went away for our little break. His tag has my son's name on it so he just had to come home with us! Aren't his wellies adorable?


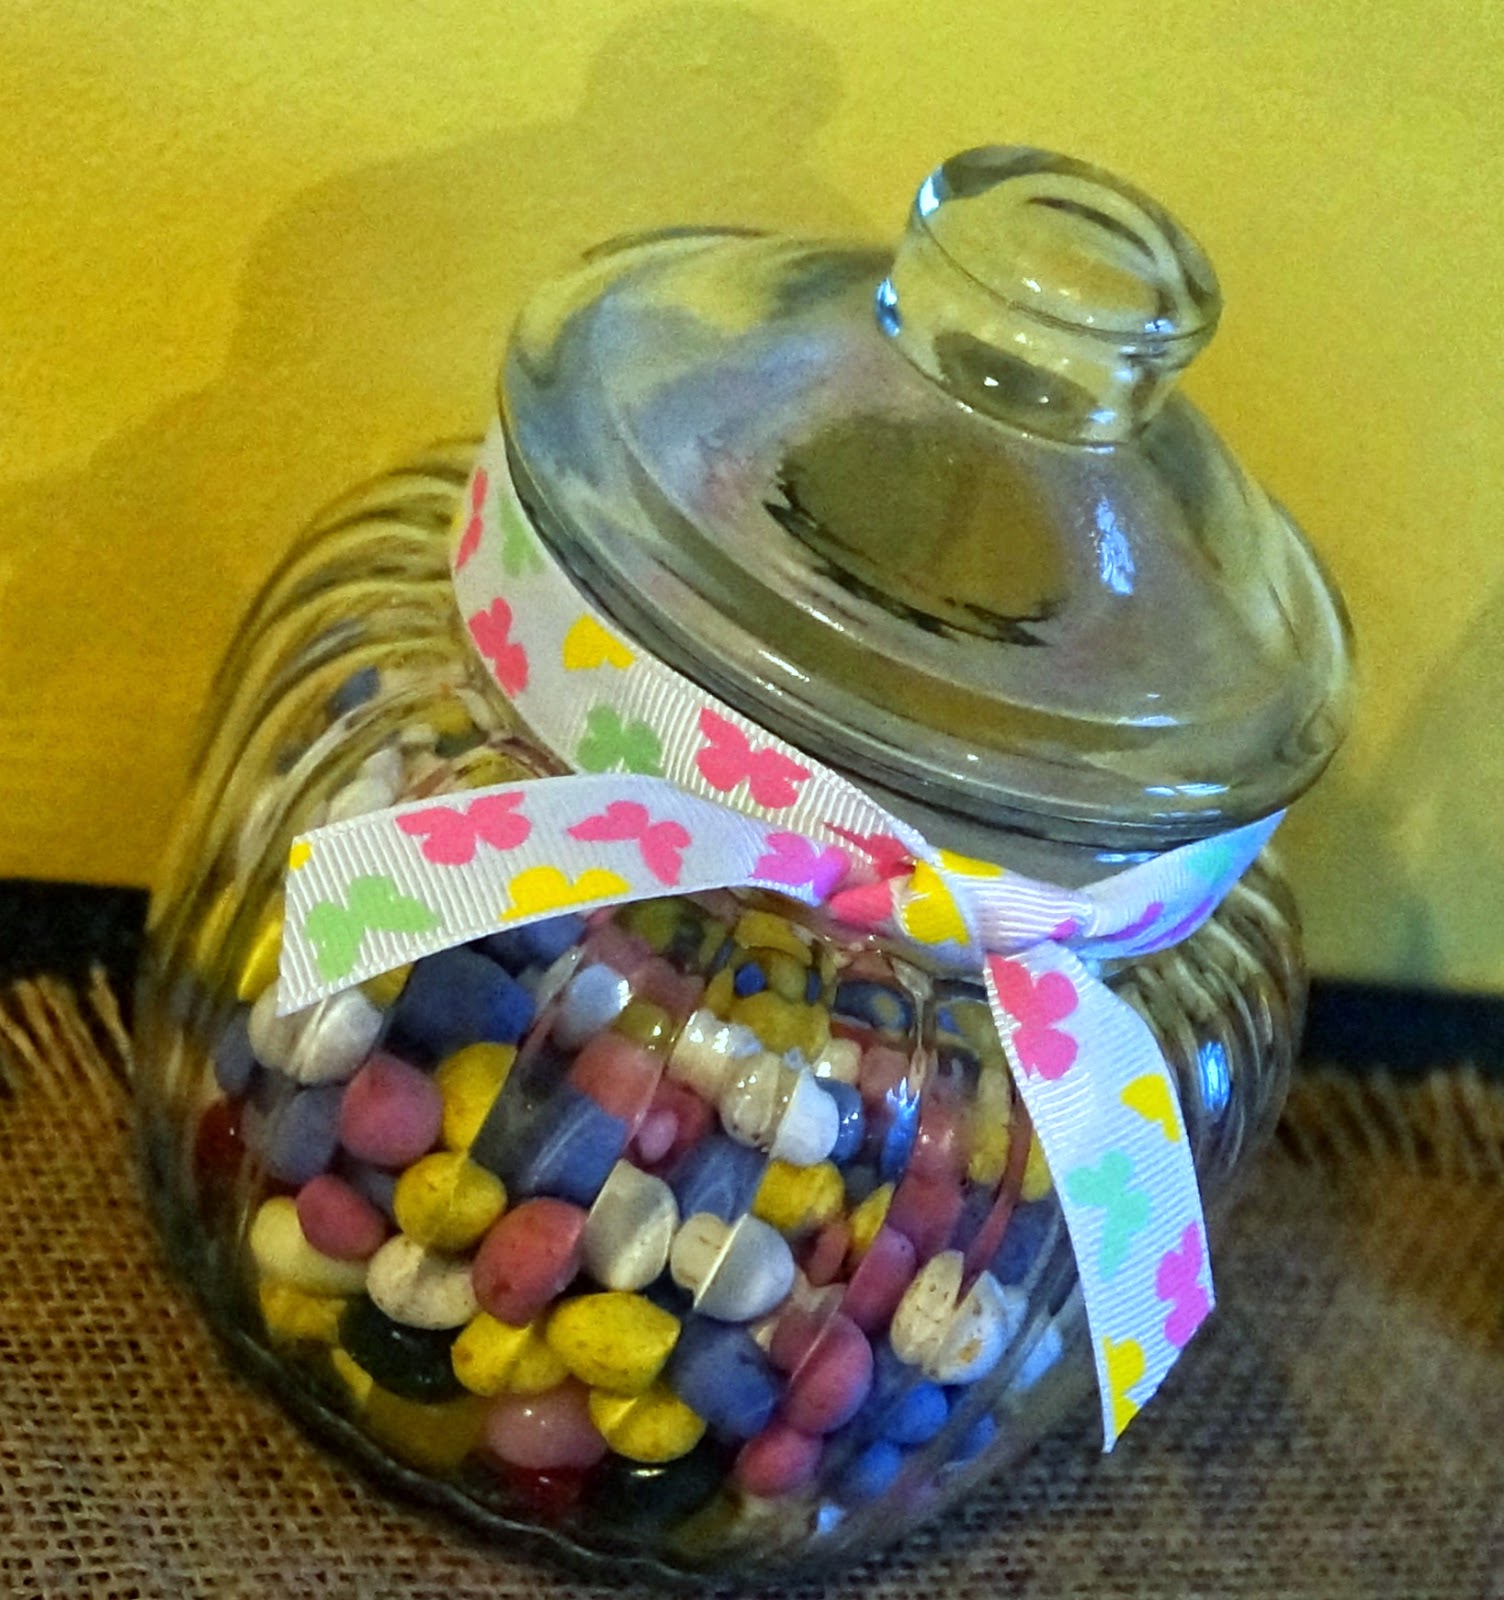
I was given this jar as part of a gift and it has come in very handy holding little treats! I tied some seasonal ribbon around and filled it with micro mini eggs which I bought from Sainsburys.


This stemmed jar is actually from Sainsbury's bathroom collection. I thought it would be perfect for holding all manner of pretty things including these foam glitter eggs! Plus it was a bargain at just £7.00!

I have all kinds of candles around my house, but Yankee Candles are my favourite! I love the spice, food and seasonal ones that they do. I just tied a bit of the seasonal ribbon around this one to tie it in to the rest of the items.

I bought the jute runner from Hobbycraft in their January sale. It hides the ugly black shelf fairly well. I cannot wait to switch out the kitchen for something much more light and airy!

Isn't the sheep the cutest? I was in town and noticed that Tiger had all their Spring and Easter stuff out. If you look carefully through Tiger you can find some absolute bargains and great pieces to add to your collection. I bought the sheep and a fuzzy little bunny from there for next to nothing! The hen I purchased a while back from a lovely local gift shop.

 If you look closely you can just spot the fuzzy bunny!

Do you like to decorate for the seasons? Share over on my Facebook page!

Have a great week!


Thursday, 26 February 2015

Rustic Jute covered Vase for Spring


Urgh the weather is just miserable! It's almost March, we can hope for some actual Spring weather now right? All my attention lately is on Spring colours, light clothes, Easter, Mother's Day and getting out in the garden. Anything to take my mind off the damp, overcast days.

All the things I have been making have a definite Spring flavour about them. If the weather can't cheer up at least my home can!

Over the years I have accumulated a lot of vases, either gifts or items I have bought. Some of them are, well, a little boring. Sometimes a plain vase is a good thing when you have a huge bouquet of beautiful blooms to display. Other times it seems like an opportunity to make something truly unique. This is what I felt when I looked at this old vase of mine.


It's a fairly unusual shape, being so wide at the top but I rarely used it. I prefered the coloured vases I own or the more delicate one bud style vases.

I've seen all these jute covered wine bottles and jars over on Pinterest. I just love the way they look and thought it would be a nice change for this vase!

Armed with my glue gun I started at the base of the vase and wound the jute string around the bottom securing with hot glue every so often.


I didn't need to use glue all over, just in a few places to hold the string in place.


I found that as I reached the narrower part of the vase, the less glue was needed. A little was needed to secure the string to the top of the vase.


Some other bloggers have left the vases as is, and they do look lovely with flowers placed in them but I am not a minimalist type girl!

I decided to paint the string at the base in a cream colour to create a colour block effect. I had also seen this on a few jars over on Pinterest. I used some tape to section off the bottom which enabled me to have a defined line.


But I was still not done! I had some of the wooden hearts left over from other projects and hot glued a medium sized one to the front. I finished it off with some cream lace ribbon at the top, also secured with a little hot glue. I at least kept things neutral!


I was given some lovely flowers by another Mum for looking out for her son. It was a lovely surprise and very unexpected and perfect timing for christening my newly updated vase!

It goes so well with my house lamp.

Even the cat agrees!

Would you update a vase this way?

Hop over to Facebook and share!